Link table - nine crossings alternating: Difference between revisions
From Knot Atlas
Jump to navigationJump to search
No edit summary |
No edit summary |
||
| Line 1: | Line 1: | ||
{| |
{| |
||
|+ Nine crossing alternating links ([http://katlas.math.toronto.edu/w/index.php?title=Link_table_-_nine_crossings_alternating&action=edit edit this table]) |
|+ Nine crossing alternating links ([http://katlas.math.toronto.edu/w/index.php?title=Link_table_-_nine_crossings_alternating&action=edit edit this table]) |
||
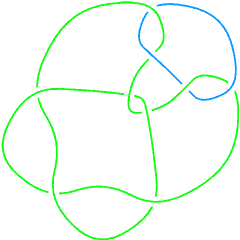
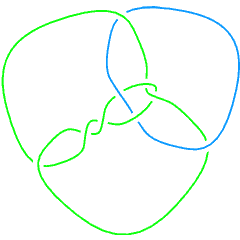
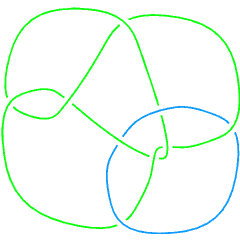
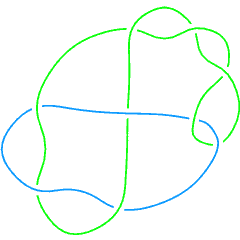
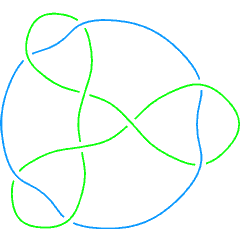
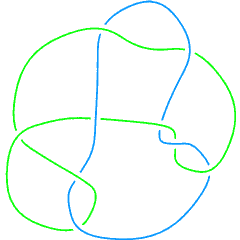
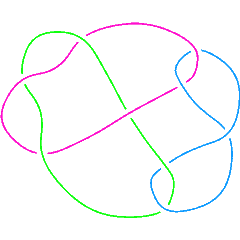
{{Knot Table Image|L9a1}} |
|||
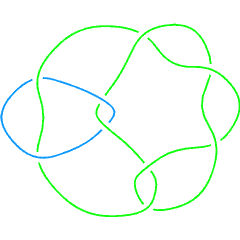
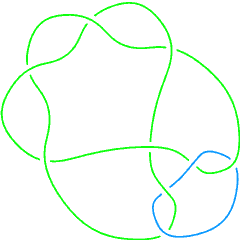
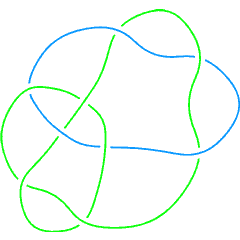
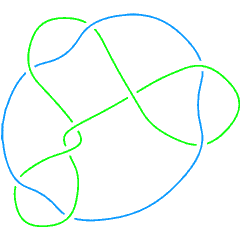
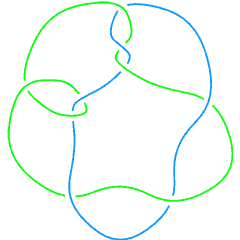
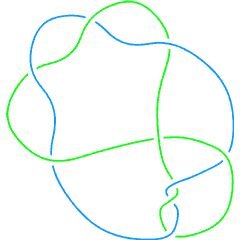
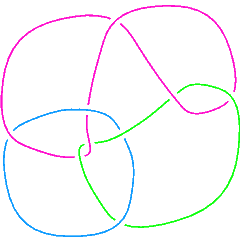
{{Knot Table Image|L9a2}} |
|||
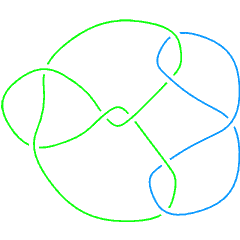
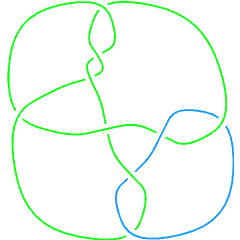
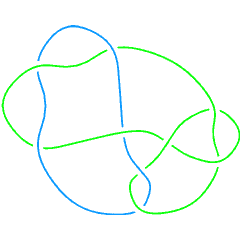
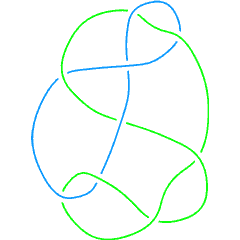
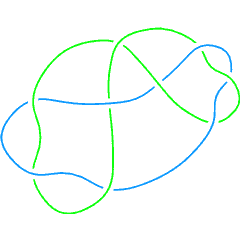
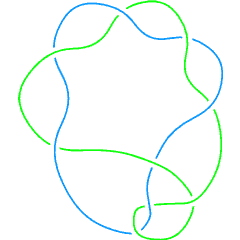
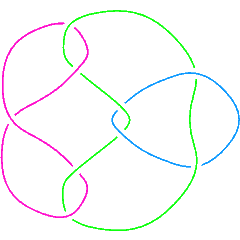
{{Knot Table Image|L9a3}} |
|||
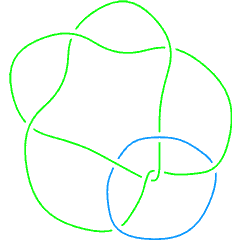
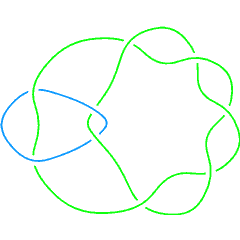
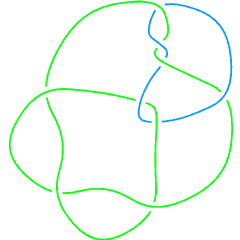
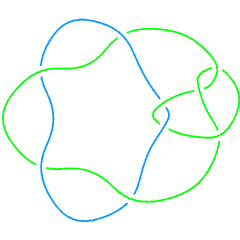
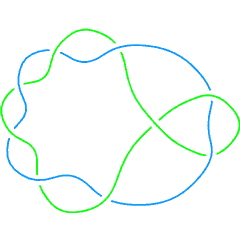
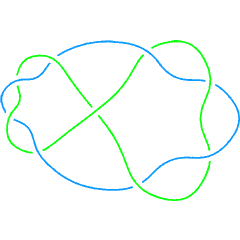
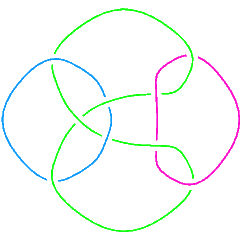
{{Knot Table Image|L9a4}} |
|||
{{Knot Table Image|L9a5}} |
|||
{{Knot Table Image|L9a6}} |
|||
{{Knot Table Image|L9a7}} |
|||
{{Knot Table Image|L9a8}} |
|||
{{Knot Table Image|L9a9}} |
|||
{{Knot Table Image|L9a10}} |
|||
|- |
|||
{{Knot Table Image|L9a11}} |
|||
{{Knot Table Image|L9a12}} |
|||
{{Knot Table Image|L9a13}} |
|||
{{Knot Table Image|L9a14}} |
|||
{{Knot Table Image|L9a15}} |
|||
{{Knot Table Image|L9a16}} |
|||
{{Knot Table Image|L9a17}} |
|||
{{Knot Table Image|L9a18}} |
|||
{{Knot Table Image|L9a19}} |
|||
{{Knot Table Image|L9a20}} |
|||
|- |
|||
{{Knot Table Image|L9a21}} |
|||
{{Knot Table Image|L9a22}} |
|||
{{Knot Table Image|L9a23}} |
|||
{{Knot Table Image|L9a24}} |
|||
{{Knot Table Image|L9a25}} |
|||
{{Knot Table Image|L9a26}} |
|||
{{Knot Table Image|L9a27}} |
|||
{{Knot Table Image|L9a28}} |
|||
{{Knot Table Image|L9a29}} |
|||
{{Knot Table Image|L9a30}} |
|||
|- |
|||
{{Knot Table Image|L9a31}} |
|||
{{Knot Table Image|L9a32}} |
|||
{{Knot Table Image|L9a33}} |
|||
{{Knot Table Image|L9a34}} |
|||
{{Knot Table Image|L9a35}} |
|||
{{Knot Table Image|L9a36}} |
|||
{{Knot Table Image|L9a37}} |
|||
{{Knot Table Image|L9a38}} |
|||
{{Knot Table Image|L9a39}} |
|||
{{Knot Table Image|L9a40}} |
|||
|- |
|||
{{Knot Table Image|L9a41}} |
|||
{{Knot Table Image|L9a42}} |
|||
{{Knot Table Image|L9a43}} |
|||
{{Knot Table Image|L9a44}} |
|||
{{Knot Table Image|L9a45}} |
|||
{{Knot Table Image|L9a46}} |
|||
{{Knot Table Image|L9a47}} |
|||
{{Knot Table Image|L9a48}} |
|||
{{Knot Table Image|L9a49}} |
|||
{{Knot Table Image|L9a50}} |
|||
|- |
|||
{{Knot Table Image|L9a51}} |
|||
{{Knot Table Image|L9a52}} |
|||
{{Knot Table Image|L9a53}} |
|||
{{Knot Table Image|L9a54}} |
|||
{{Knot Table Image|L9a55}} |
|||
|} |
|} |
||
Revision as of 22:40, 26 August 2005
|
|
|
|
|
|
|
|
|
|
|
|
|
|
|
|
|
|
|
|
|
|
|
|
|
|
|
|
|
|
|
|
|
|
|
|
|
|
|
|
|
|
|
|
|
|
|
|
|
|
|
|
|
|
|
|
|
|
|
|
|